A GUIDE TO GOOD FOOD PHOTOGRAPHY

Taking a good food photograph is less about the equipment you have and more about understanding how to emphasize the aesthetic beauty of food. Professional-looking photographs can be shot on something as simple as a smartphone camera by using some techniques.
A beautiful shot can be achieved through 4 major steps:
1.Plating(The aesthetic arrangement/presentation of food)
Plating is the first step, towards a visually appealing representation of food. Whilst observing the image, the viewer should be able to understand the essence of the food.
Some ways to create perfect plating includes is to understand the elements imperative to increase the visual appeal of food – understanding the type of food, selection of accurate surface, the food’s placement and a dash of creativity. Also, ensuring symmetry is essential while plating, hence, it’s best to start in the middle and then work your way out from there.
Salad
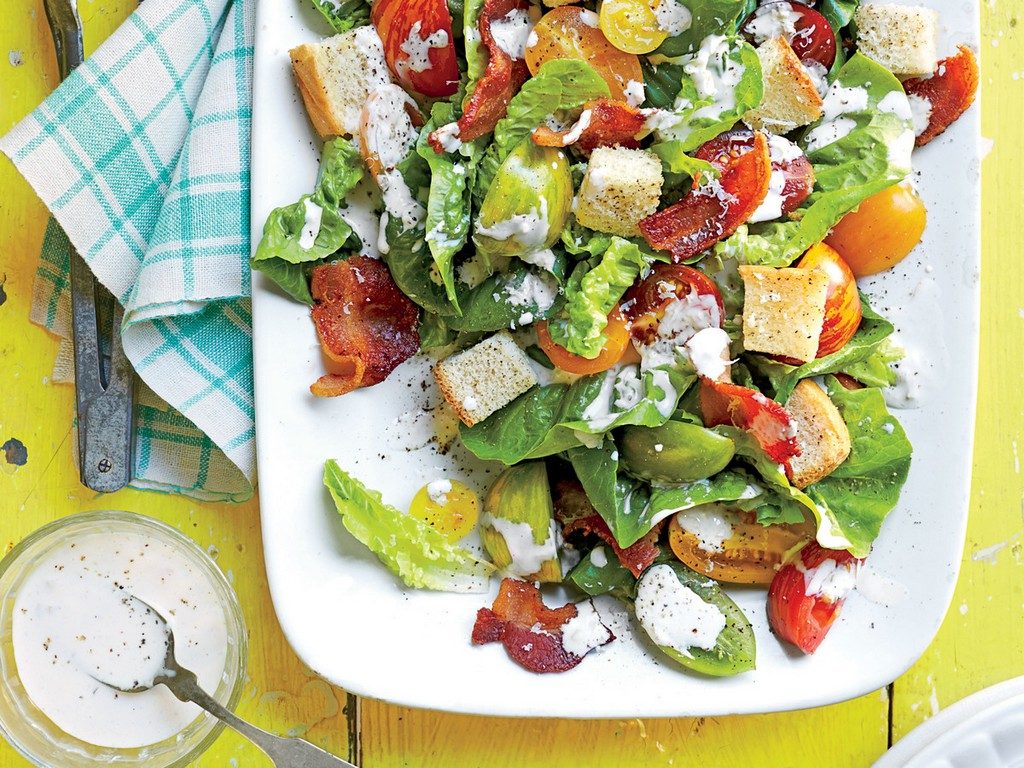
Image Source: Southern Living
Burgers
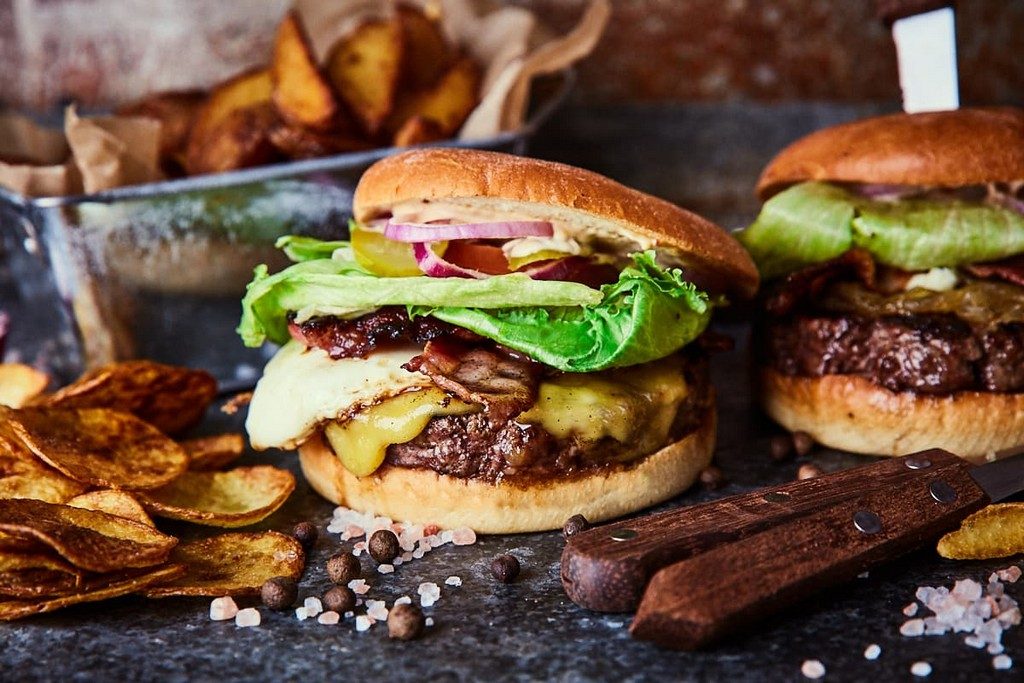
Image Source: Wolt
Food plated on a classic white plate
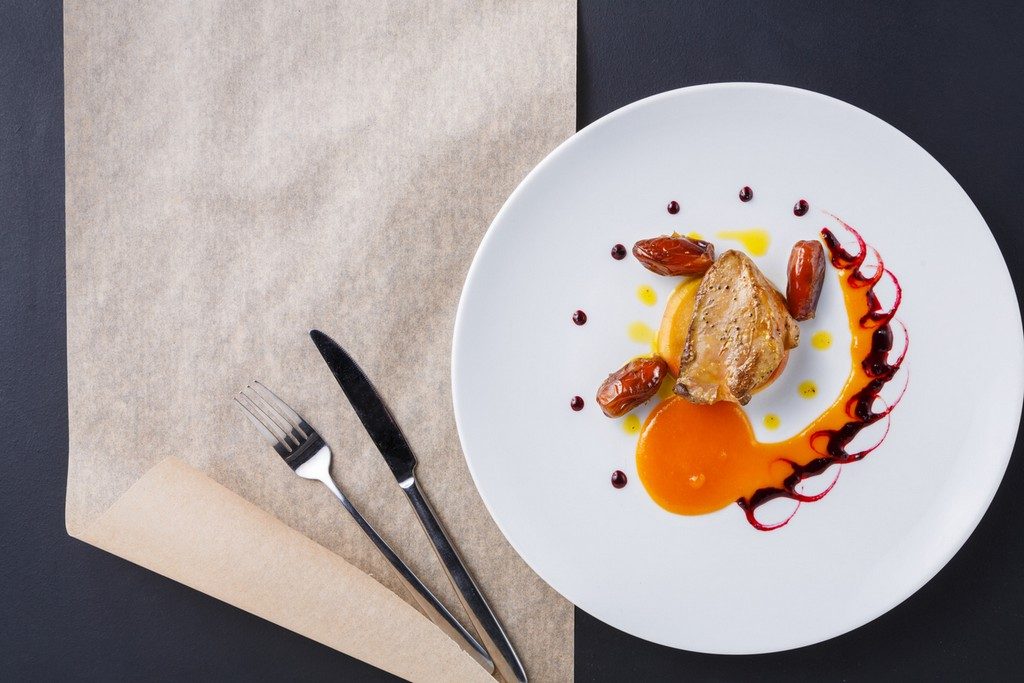
Image Source: Carapelli
2. Lighting(The use of light to bring out the food’s good side)
Lightning plays a vital role in emphasizing the textures and color balance of food. Placing the light on the side can help capture the various textures of the food. Softer lighting can prevent harsh shadows which are usually created due to lighting from the front as that has a tendency to create harsh bright spots in the photograph which can make food appear bland and tasteless. Harsh shadows can be off-putting and unappetizing while bringing out the textures of the food.
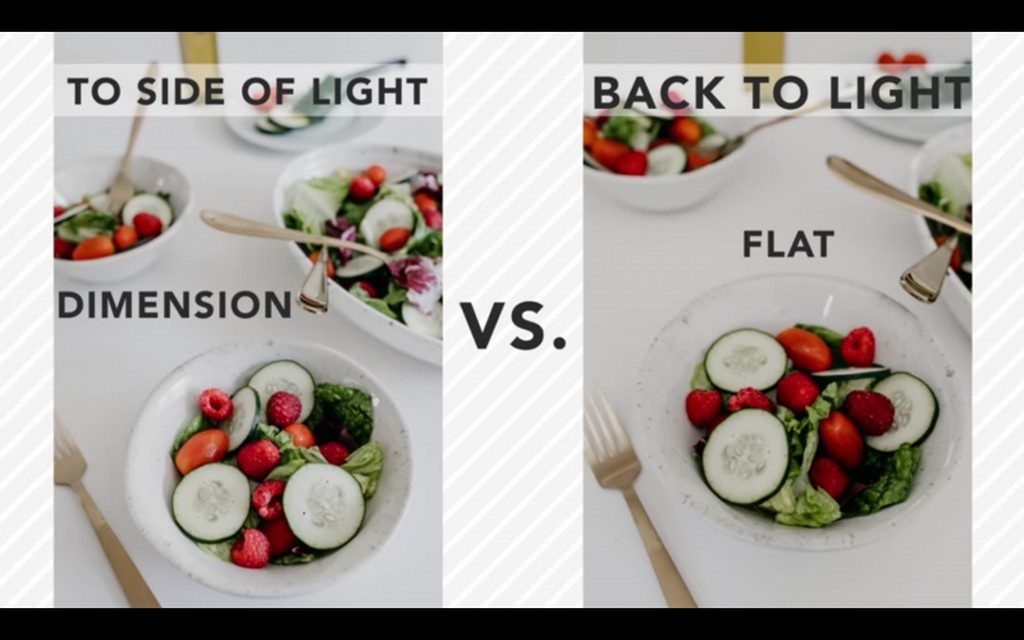
Image Source: DIY Photography
Harsh versus Soft Light
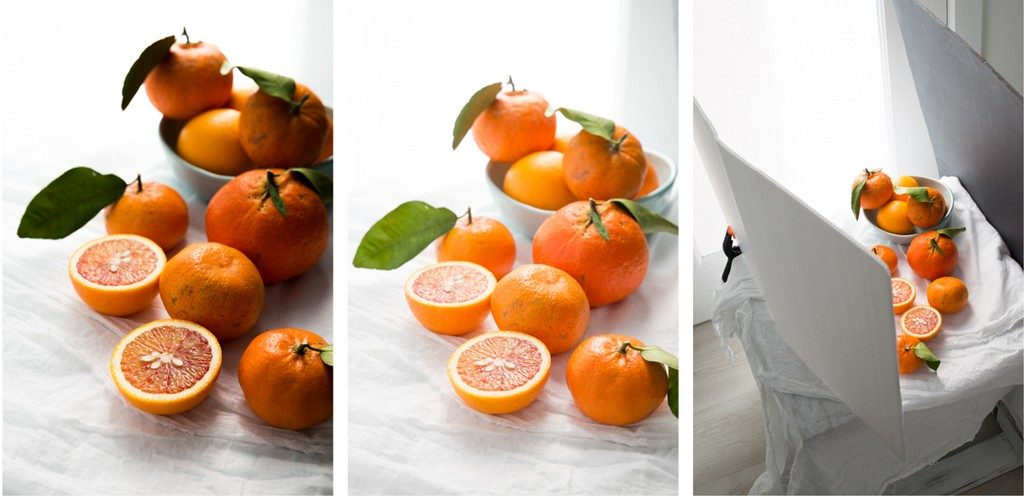
Image Source: Two Loves Studio
3. Composition (The framing of the picture)
There’s no right or wrong way to frame a food picture, inorder to get good results few tricks need to be kept in mind that best emphasize the strengths of the food.
Salads or a charcuterie board are best shot from an overhead, flat-lay style in order to show the intricacies of the arrangement of elements. On the other hand side shots are best for sandwiches and burgers cut into two halves. Steer clear of front-facing, downward angle should be avoided.
Balance in color is necessary which can be attained by the use of Props or interesting patterns in complimentary colors which enhances the photo. Warmer colors—like reds, oranges, and yellows—are best for stimulating appetites. Try to keep the overall composition of the photograph warmly coloured.
Colour as a Compositional Tool
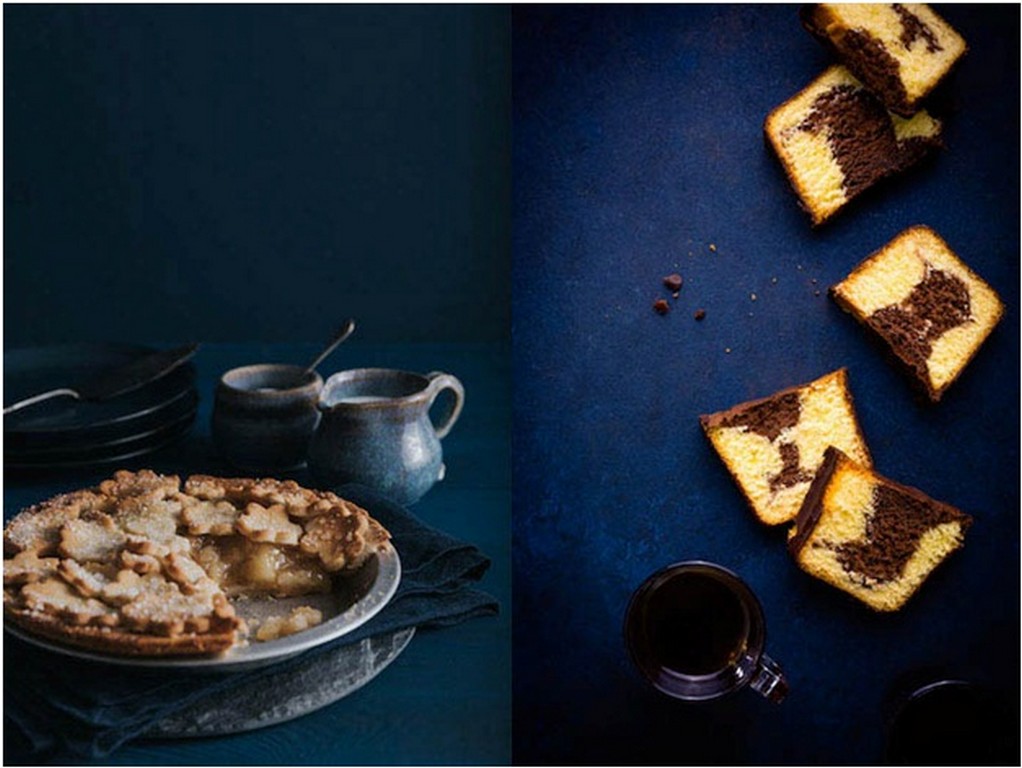
Image Source: Portrait Photography
4. Editing ( Adding Touch-ups to the photos)
Captured images can be edited a little bit to really bring out the flavor of the photograph. Edges can be given more definition and aspects of the image can be differentiated by making some adjustments to the sharpness of the image. Adjusting white balance can help to make an image look more “warm” or “cool” depending on how you adjust it. Avoiding cooler filters on the photographs is a must. Most foods—meats and cheeses especially—look unappetizing under a blue glow.
Giving a slight boost to the brightness and contrast brings out the diversity of colors, highlights and shadows in the photo and makes for a more eye-catching image.
Food photography is an art, not an exact science. While these guidelines will help in capturing better pictures of food. Experimenting with filters, lighting techniques and composition can bring a creative edge to the photographs.
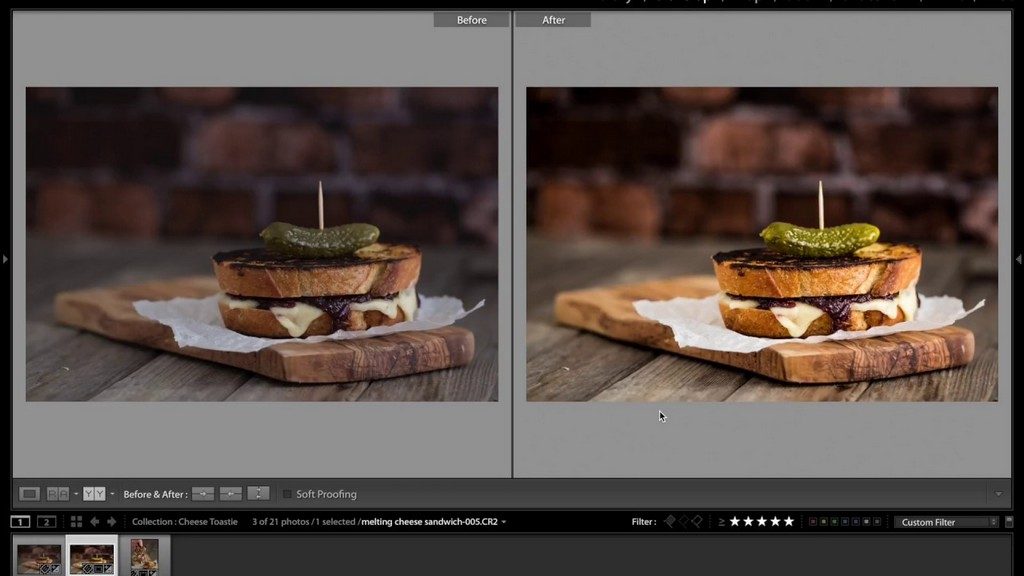
Image Source: YouTube
Submitted by: Yogita Agrawal
BSC IDD’18-A
#jdinstitute #goodfoodphotography #foodphotography #composition #harshversussoftlihgt #lighting #photography #editing #plating #backlight #frontlight #interiordesign #gloablleagueinstitute